For the induction project for the second year of college we had to take our characters that we created over the summer and then create a 3D bust. I first did the orthographic image in back and white,this was because I wanted to get the detail down first and make sure it looked right.
 |
| Orthographic |
 |
| Orthographic in colour |
After that was done, I then replicated the colours from the stationary pose of the character and then applied it to the orthographic.


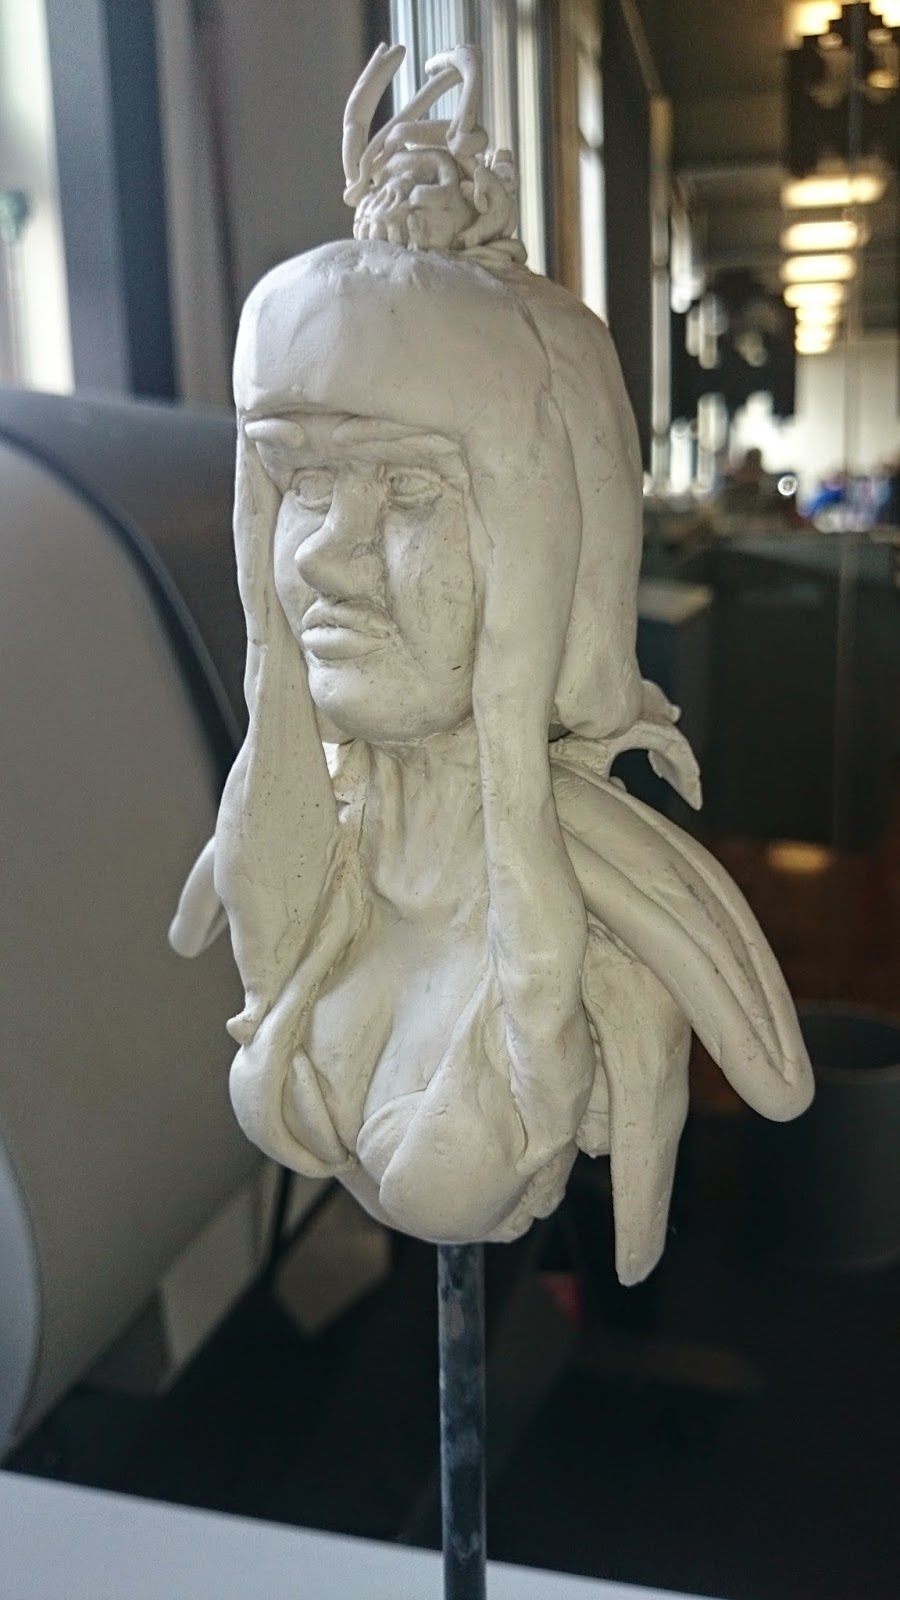
These are pictures of the final clay model, using the orthographic above I molded the clay that was a two part air drying clay, to make it so that the bust resembled the image on the paper.
Using clay tools I was able to get quite a bit of detail into the clay and also using rubber brushes to smooth down the clay where it looked like it was cracking.

Background: this is the background image that I used for the rendered versions of the computer 3D model. I wanted it to be a leaf background so that it would link into the back-story.

I did this because I wanted it to look like an actual carved bust, and marble is usually a material of choice. I also remembered that there were a couple of things that I forgot at the back of the model, the collar and the back chain.


5
This is the model that I made from all sides, as can be seen there is detail that can be seen from all sides, this is the best that I could do with my time and skill. If there is a future project I hope to learn from mistakes made in this and better myself in the next.
 |
| Render |
The lighting in this is slightly different from the one before. This one has a light that gives the image a slight green hue. And the rim light is not as intense as the one above.
In small groups, peers within my year gathered around our work and then we discussed what we did with our work. We then gave negatives and positives to all the work seen. So we each spoke a little about our work and the our peers then assessed it.
The style of character does not really carry through all the work, but this was mainly to do with the face.
The render was too dark so some of the detail was lost in the shadows of the scene, also due to some of the lights not looking right, I was advised to use ray tracing. This will help with the realism of the scene.
The art work was said to benifit from more contrast in the shadows and then have a source of light that was defined, so that the observer would be able to know where the light was coming from, instead of just a generic light where I think that it might benift the picture.
A good thing that was mentioned was that the model had a good amount of detail, and that it had good assests to it, like the skull crown and the shoulder pads.
Evaluation
I think that for my first time of using MudBox I did a good job in using it. I was able to successfully complete a bust of my character that resembles the character that I created.
I would of liked to have been able to get more detail into the collar, I would of liked there to be tears and holes in it, But I was unsuccessful in getting that to happen.
The thing I like most about this is that in 2 weeks I was able to use a new piece of software and make a character with techniques I had only just learnt from the tutor.
No comments:
Post a Comment